Enter a keyword
Language
English
Accesibility
Professional Porcelain Countertop Repair | Caesarstone Porcelain Restoration
Edge chips are caused by localized impact. The edge is the most exposed point of any slab, and the first place to show damage. The size and depth of the chip determines how you respond. Not every chip requires the same approach, and choosing the right one is the first professional decision in the repair process.
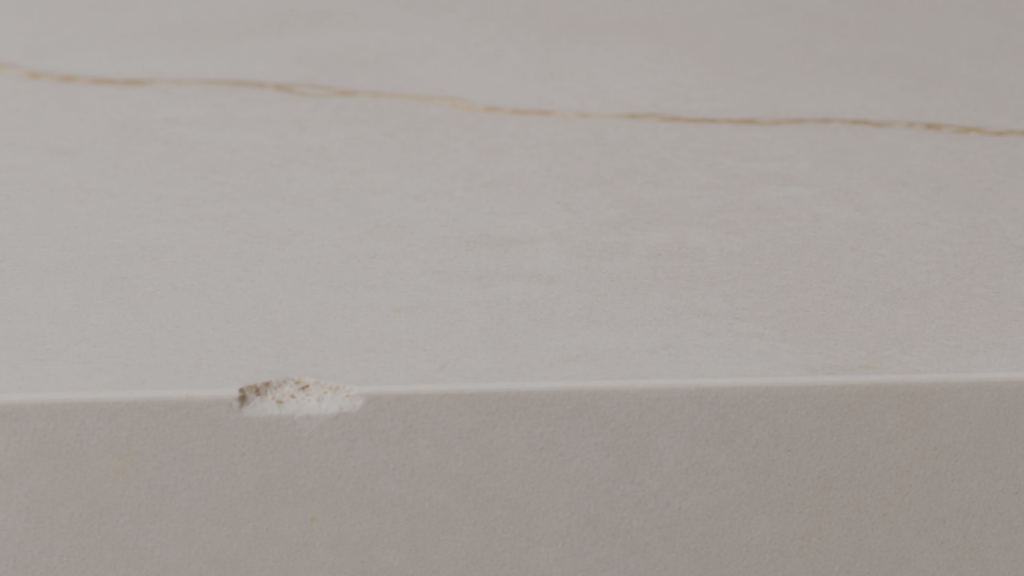
Not every chip requires the same response. Look at the damage first – the size, the depth, and where it sits on the edge profile – then decide. This is where experience makes the difference.
If the chip is small and the edge profile is largely intact, lightly regrinding the bevel can be enough to absorb the damage into the profile, making it invisible without any filling or color matching.
If the chip has removed a significant amount of material from the profile, full reconstruction is the right call. Adhesive alone will not hold. Mechanical anchoring of the repair material comes first.
Thoroughly clean the area and ensure it is completely dry. Proper preparation is critical for adhesion.
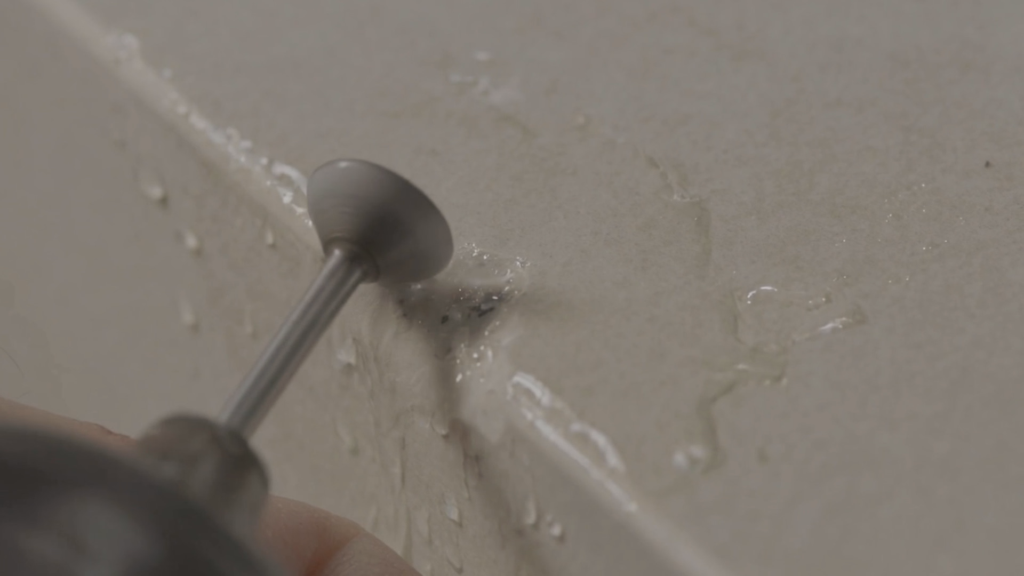
Using a diamond burr on a rotary tool (such as a Dremel), create small grooves across the chipped area. Always work wet and wear appropriate personal protective equipment – safety glasses, gloves, and a dust mask. The goal is simple: maximum contact points for the repair compound. Without them, the material sits on a smooth surface and will not hold.
Start with the overall tone of the surface, then refine. On homogeneous designs this is straightforward. Where the chip falls on a vein, match the vein color – not the background. Work in layers, and test on waste material before applying. Bear in mind that on dark-colored models, the adhesive-pigment mixture may appear lighter after curing than its original wet color.
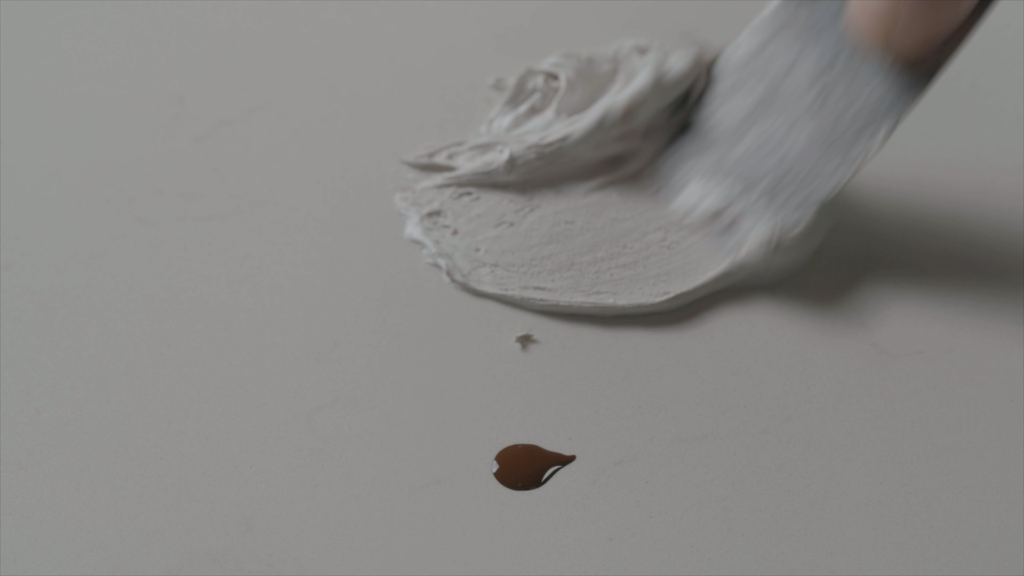
Fill the chipped area from the inside out, making sure the compound reaches full contact with the grooves. Then rebuild the edge profile. The goal is a solid base first – shape comes second.
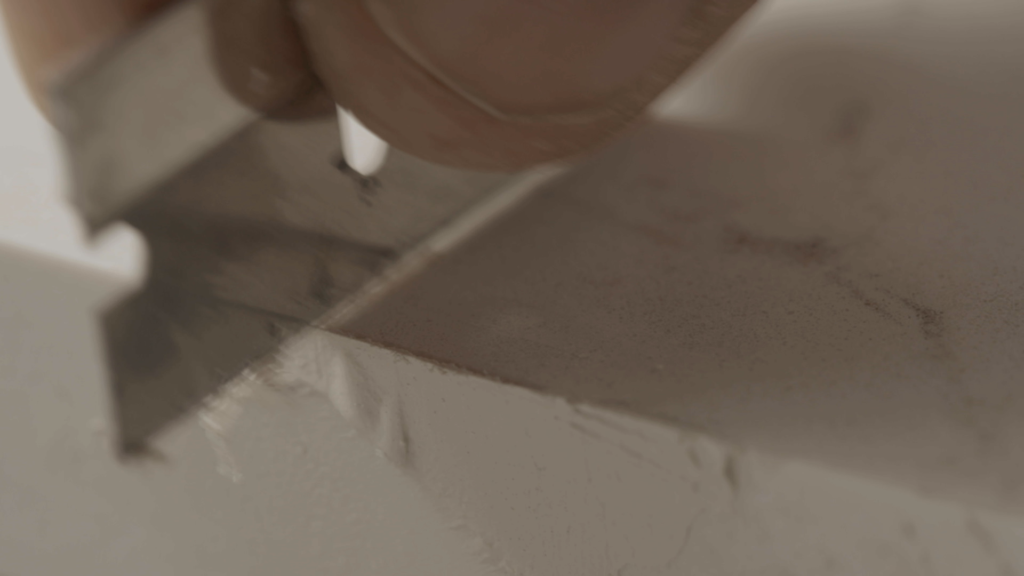
Allow the repair compound to reach full cure before moving on to finishing. Do not rush this step – working on the surface before the compound has fully set will compromise the repair.
For matte finishes: before full cure, apply a thin layer of oil to a scrap piece of porcelain with the matching texture and press it firmly onto the compound. This transfers the texture directly. Once set, do not polish or you will lose the finish. Practice on waste material first.
Once fully cured, scrape off any excess compound. Then polish the repaired area until it matches the surrounding surface both in appearance and texture.
Finishing techniques vary depending on the surface design and finish required. As with any professional technique, results improve with practice. The more familiar you are with the material and the repair compound, the more control you have over the final outcome.
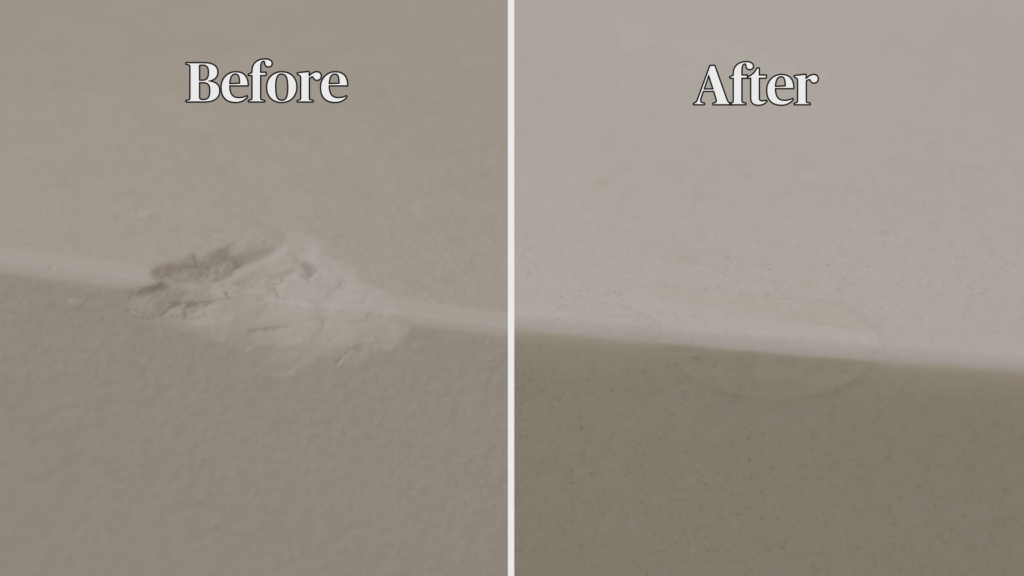
The best way to reduce the risk of edge chipping is to ensure the edge profile is finished with a polished radius of at least 3 mm (1/8”). A sharp or minimally finished edge concentrates impact stress at a single point, whereas a rounded, polished profile distributes it and significantly reduces the likelihood of chipping.
A well-executed repair can significantly improve the appearance of the edge and restore its stability. The process is learnable, the tools are accessible, and the difference between a good result and a great one comes down to practice and experience . That is what this article and video are here to support.
Every repair is different, and results will vary based on the damage and the surface. This guide gives you the tools and the process – the rest is in your hands.